And I practially did NOTHING to maintain it. Legit y'all. No moisturizing or sealing. No reapplication of gel. No nada. Here's what I did:

BANDING
Every night, I banded my hair. Banding is a super simple concept and even easier to do. First, divided my hair into about 5-9 sections (the more sections you have the more stretch you'll be able to achieve), then used an extra wide hair tie to secure the section at the base. Next, I wrapped the the rest of the pony along the length my hair. I don't band the very ends of my hair to keep the curls in tact.Banding elongates my curls without destroying the curl pattern. It also counteracts the ridiculous amount of shrinkage that I have. The best part about banding is that it's heat free, doesn't cause breakage, and it's incredibly gentle on my strands.
Related: How To Band Natural Hair
") |
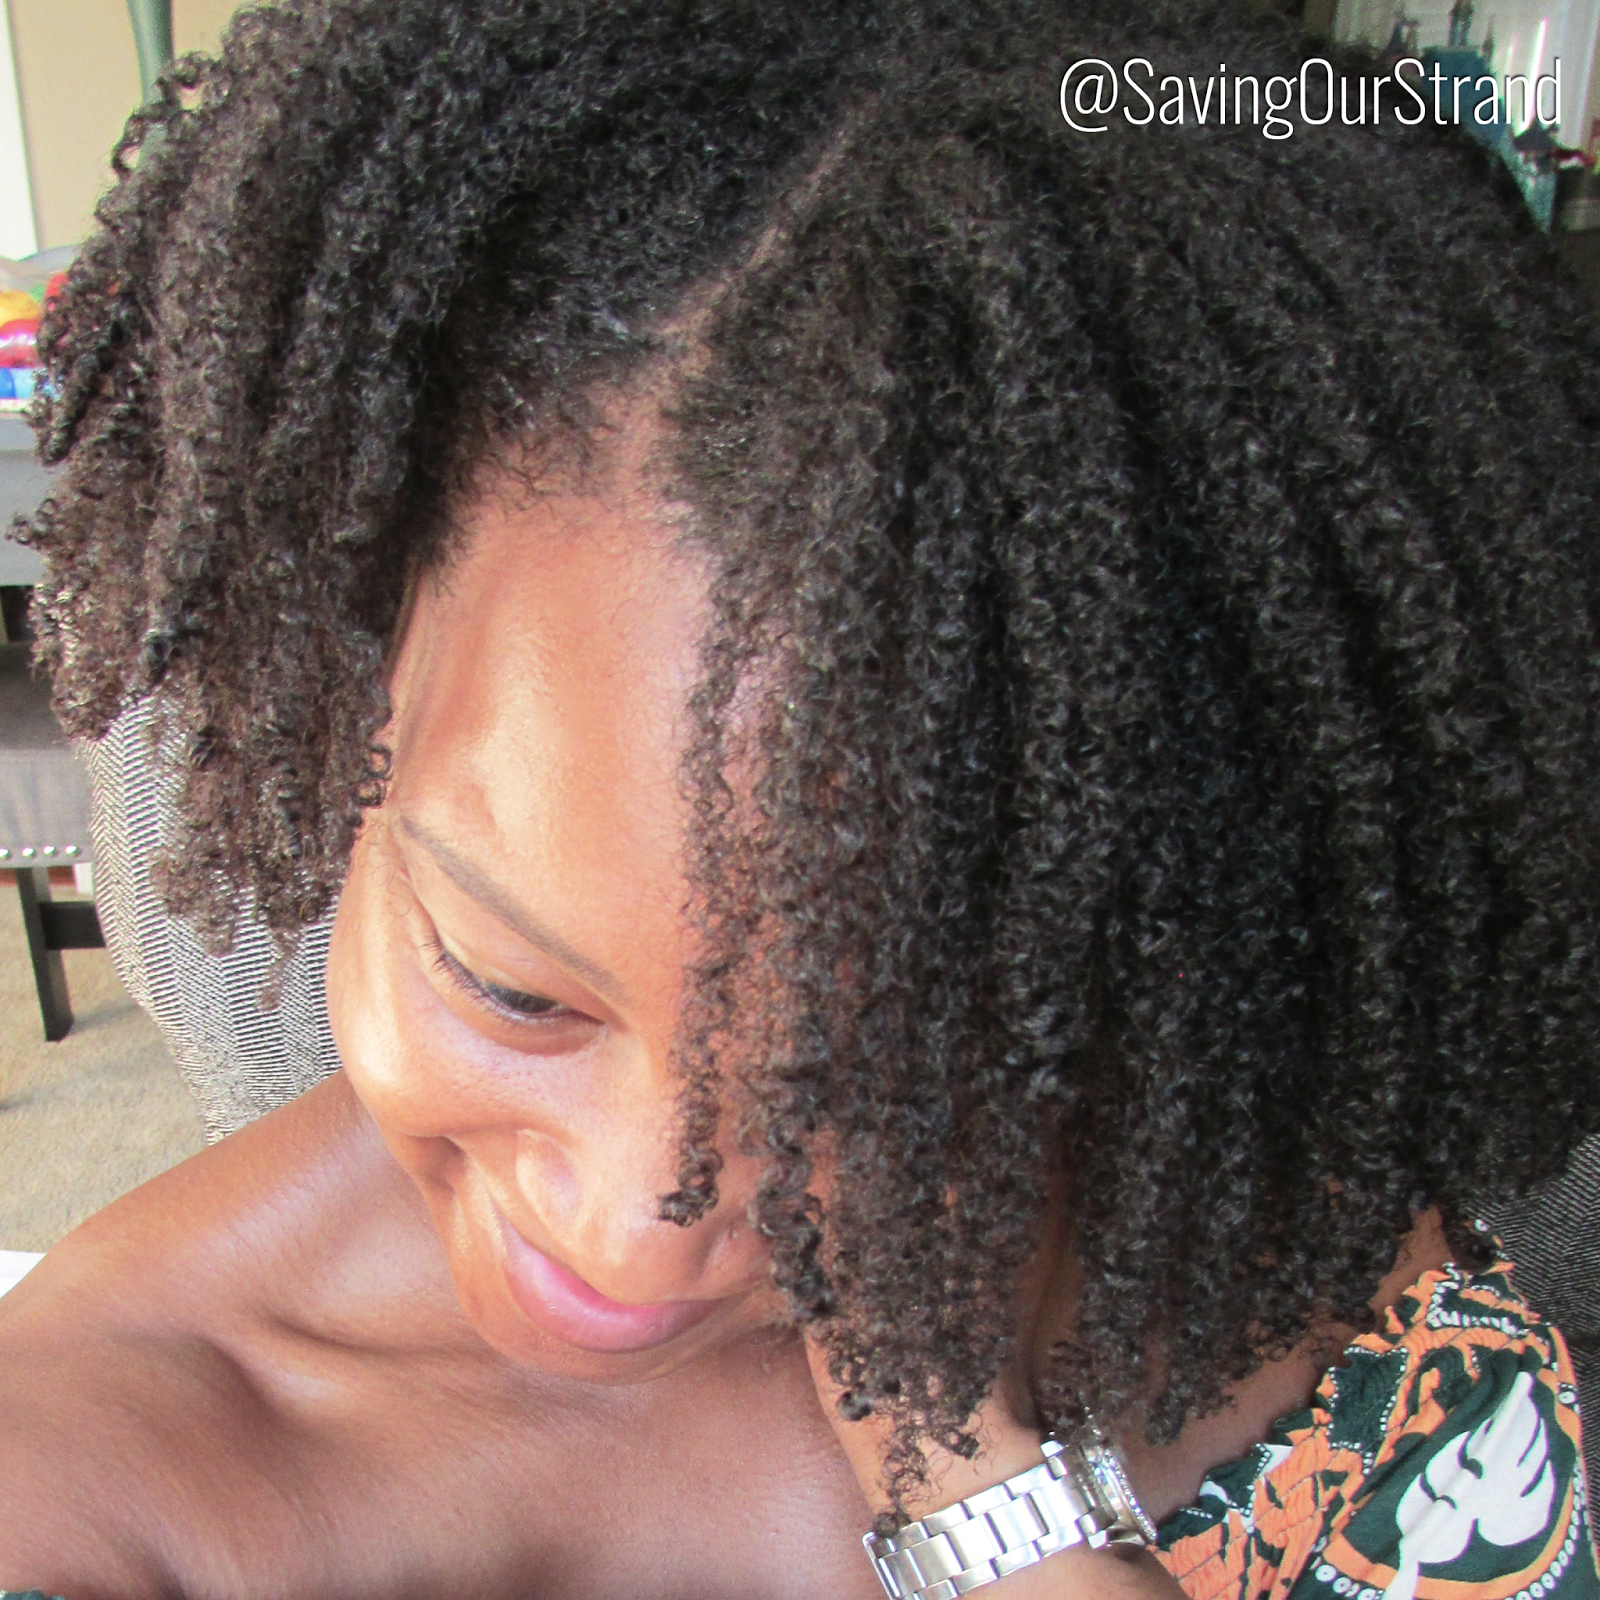
| Day 1 |
EXERCISING
I workout every morning---and night. During my morning workouts, I keep my hair banded and covered with a satin scarf. At night, I throw my hair up into a high puff.Related: What I used for this wash and go!
 |
| Day 2 Wash and go |
MORNING ROUTINE
On the mornings when I started the day with cardio---I noticed that my roots were a little damp. So I sat under my hooded dryer---on cool---for about 10 minutes until my roots were dry. Then I removed the bands, shook my hair, fluffed it a little with my fingers for some volume, then went about my business. |
| Day 3 Wash and go |
NIGHTLY ROUTINE
After my night workout, I banded my hair into those same 5 sections. I didn't moisturize. I didn't seal. I didn't really do much of anything besides band my hair and cover with a scarf. |
| Day 4 Wash and Go |
I'm not really used to one wash day a week anymore. I was afraid that my hair was going to be a dry frizz ball. But believe it or not, my hair felt amazing. I had a little frizz in the front---most likely from my time on the treadmill with covering my hair. *hangs head* So on day 5, I pulled it up into a high puff. I washed my hair the next day but I feel like I could have pushed it one more day in another high puff if I needed to.
 |
| Day 5 Wash and go |
I'm feeling really optimistic about the future of my wash and gos!
Are you a wash and go girl? How do you maintain your curls?
Besitos!
KLP