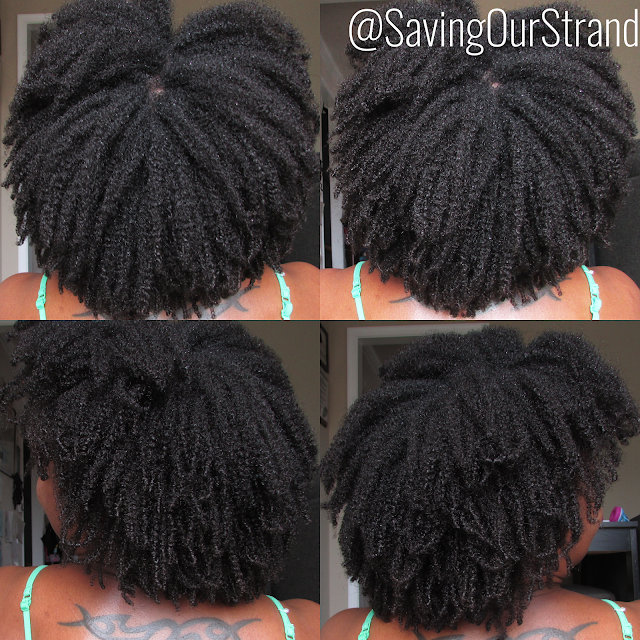
I noticed that my hair has been on its very best behavior over the last 3 weeks. Think super moisturized curls pump, clumped and shiny. So I checked my previous #washdayexperience posts to see what exactly had I been doing.
And to my surprise--I'd used the same exact product lineup and the same exact setting techniques.
So obviously I had to do it again...
Here's what I used:
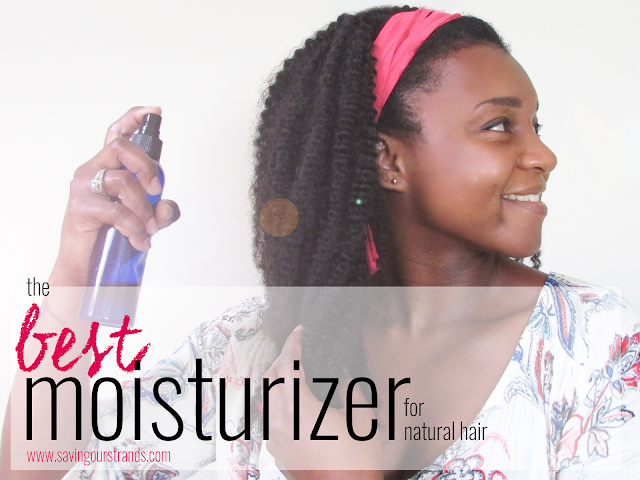
Pre-shampoo- DIY Moisturizing Mist (tutorial here) + Herbal Essences Hello Hydration Conditioner (review here)
Clay Rinse- Here's the dets on my recipe
Deep Condition- Jessicurl Deep Treatment Conditioner (review here)
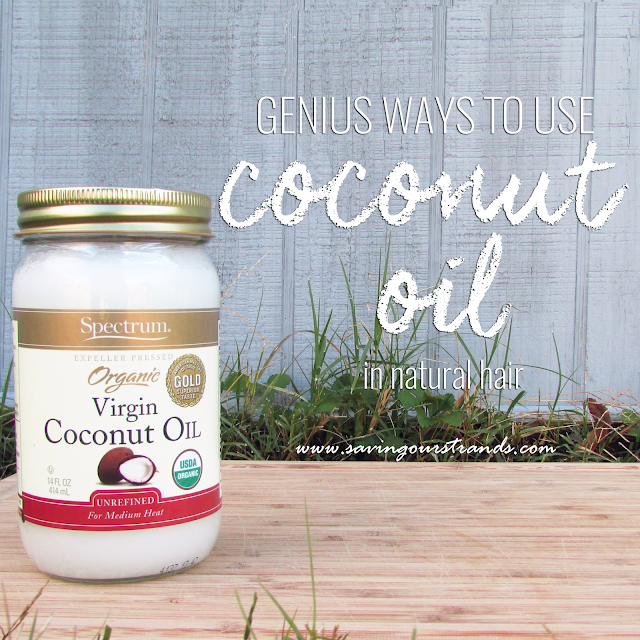
Leave-Ins- Extra Virgin Coconut Oil (Why EVCO is AMAZING here) + Jessicurl Too Shea Conditioner (why I love this stuff here) + DIY Hair Butter (tutorial here)
RELATED: My Minimalist Natural Hair Regimen
And here's how I did it:
I started my spritzing the ends of my hair with my DIY Moisturizing Mist (tutorial here). Then I slathered my hair in Herbal Essence Hello Hydration. I talk about this combo every week so if you're still sleeping on it---shame on you! BUT if you want tangle melting madness You can read my full review here!
RELATED: How I got these curls to POP!
I hopped in the shower, rinsed the conditioner section by section then applied my Clay Rinse with a narrow tip applicator bottle. This is my third consecutive clay rinse and I'm still tickled pink with how moisturized and defined my curls are afterwards. Next, I deep conditioned with my all time fave conditioner Jessicurl Deep Treatment Conditioner (review here), coated my ends in Extra Virgin Coconut oil (here's the kind that I use $) to seal in the conditioner and plopped under my hooded dryer for about 30 minutes.
RELATED: Why I'm in love with the Coco (Coconut Oil of course!)
I t-shirt dried for about 10 minutes then installed Curlformers using a little more Extra Virgin Coconut Oil + Jessicurl Too Shea Conditioner (why I love this stuff here) + DIY Hair Butter (how to make your own Hair Butter here) as my leave ins.
Can I just get a hand clap and dust of pixie dust for these curls?!?
I think that my hair regimen is working! Hopefully you won't get bored with m!
How did you style your hair this week? Do you think that your hair regimen is working? Share the dets below!
Wednesday, February 24, 2016
Tuesday, February 23, 2016
5 Ways To Increase Shine In Natural Hair
The science just isn't on our side. Curly hair isn't naturally shiny. Our curly strands just don't reflect light as easily as straighter hair.
*womp womp*
But that doesn't mean that your curls can't have a gorgeous glowing sheen--it will just take a teeny bit more effort! Here's 5 ways to get glossier hair in every step of your #washdayexperience regimen:
P R E - S H A M P O O T R E A T M E N T
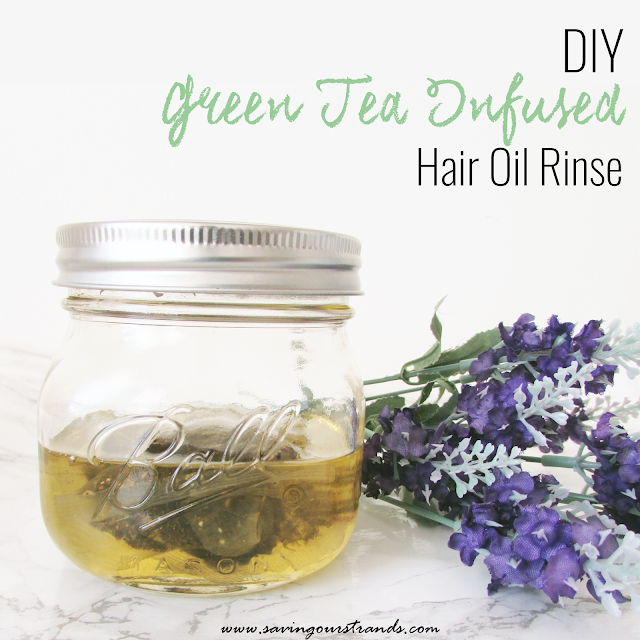
Before you hop in the shower, try an oil rinse. To apply the rinse to my scalp, I use a narrow tip applicator bottle (Like this one of these) then let it sit for a few minutes and rinse in shower. My favorite oil rinse has been this amazeball DIY Green Tea Infused Hair Oil.P R E - C O N D I T I O N I N G
After you've cleansed your hair but before your deep conditioning session try a Clay mask. I discovered clay masks about a year ago (my super simple recipe is here) and they've made their way into my weekly routine. Clay masks are amazingness in a jar and the shine that your hair has afterwards is unparalleled. Masks are a little labor intensive so if you're pressed for time, try this Quick & Easy Clay Rinse. You'll still get all of the flossy shine!D U R I N G C O N D I T I O N I N G
I've made a habit of sealing my deep conditioner with oil. Simply work the conditioner through your curls, then apply a little oil to your ends. Cover with a plastic cap then sit under your hooded dryer for 20-30 minutes (or Deep Condition Overnight). This technique deeply moisturizes, softens your hair, and once rinsed gives your hair an incredible shine! My oil of choice is usually Extra Virgin Coconut Oil.D A I L Y
I've found that keeping my hair moisturized on a daily basis is the best way to increase my healthy looking shine. Which is why I'm in lust with my DIY Moisturizer. The recipe's super nourishing ingredients like Aloe Vera Juice, Glycerin, and vitamin e oil keep my ends from drying out. My curls don't frizz and they stay well defined.How do you get your hair glossy?
Besitos!
KLP
Friday, February 19, 2016
How to Organize and Store Your Natural Hair Products
I tried for years to keep all of my lotions, potions, and miracle growth elixirs from spilling over, expiring, and getting lost in the sauce---only to find my stash in chaos a week later.
Related: Peek into my #WashDayExperience Corner
I'd clean it up, reorganize it, and try again, month after month. Until I realized that I just had too much stuff.; 75% of it I didn't need, want, or even use. Minimizing is my key to organizing.
Related: Declutter Your Product Stash in 5 Minutes
Once I'd decluttered and downsized my stash--I came up with this crazy simple way to organize what was left. Here's how I started:
F R E Q U E N C Y O F U S E
First, I divided my minimized stash by how often I used it. The items that I use daily, I leave on my bathroom vanity. I keep my weekly #WashDayExperience products in my storage cart next to my bathroom. My other items, those that I rely on for super special occasions, I store in my closet.S T O R A G E S O L U T I O N S
My daily products live on a tray that I picked at Dollar Tree (for a dollar too!). I'm not a naturally tidy person, so I love this tray because it gives my mind a designated spot for my items. (My husband also loves that my stuff isn't on his side of the vanity.)My weekly #WashDayExperience items are stored in this cart from IKEA. Each of the four drawers has a specific designation:
- Accessories & Combs
- Shampoos & Styling Tools
- Priming Products (Leave-ins and stylers)
- Conditioners
Lastly, my super special occasion items like my steam rollers, perm rods, and flexis are separated into clear stack-able containers (also available at Dollar Tree).
S H O P I T!
Cart- IkeaBasket Insert- Ikea
Clear stack-able containers- Dollar Tree
Silver tray- Dollar Tree
Related: 5 Reasons Why Being A Product Junkie Is Ruining Your Hair
For all of my other items that didn't fall into any of these categories, I asked myself:
Why do I have this? and Do I actually use this?
Most of my answers were really lame, so I let all that other stuff go. How do you organize your hair products?
Besitos!
KLP
Thursday, February 18, 2016
Declutter Your Hair Products in 5 Minutes
If we're honest, we'll admit that our hair product stash is overflowing. For starters, this headline piqued your interest. Secondly, I'm totally in the same boat. While, it will be crazy hard to part with all of your gems, BOGOs, and miracle elixirs, trust me: It's worth it.
Related: Why Being A Product Junkie Is Ruining Your Hair
Decluttering gave me a chance to truly evaluate my products to see if they were aligned with my hair goals. My decluttering process took an entire year *insert shame face here* but it wouldn't have taken that long if I was more honest with myself.
So before you start your next #WashDayExperience, I challenge you to take 5 minutes to clean out your stash. Are you ready for a simpler hair regimen that still will give you amazing results?
Related: My Minimalist Natural Hair Regimen
Here's how you can get started:
3 0 D A Y R U L E
If you haven't used it in the last 30 days---Let it go.U N I D E N T I F I A B L E L A B E L S
If you don't know what it is or how to use it in your hair---Let it go.L O T I O N S & P O T I O N S
I know that you love to DIY---but if you don't use it in two weeks it's probably growing mold---Let it go.O T H E R P E O P L E ' S I S H
If someone gave it to you and you haven't used it in the last 30 days then you probably won't ever use it---Let it go.
B R O K E N H A I R T O O L S
Combs with missing teeth? Brushes without handles? Hair pins all jacked up? It lost. Your hair won. Your hair will always win---Let it go.Related: My Wash Day Corner
Let all of this mess that isn't working for you go, so that it can serve another purpose. I've used shampoo as hand soap, to clean my bathrooms, and even as solution for blowing bubbles with my minions. Conditioner can be used to shine stainless steel appliances, detangle doll hair, and even as shaving cream. The path to your best hair starts with aligning your actions and tools with your desires.
Do you have any other tips for decluttering your hair products?
Besitos!
KLP
Wednesday, February 17, 2016
[Beauty] My Wash Day Corner
My wash day corner is terribly simple. It's composed of a stand up hair dryer, a comfy chair, and a storage cart for my hair tools and products.
I've always wanted a organized space to perform my wash day rituals. A space that's intentional, encompassing and peaceful.
Here's how I went from product junkie to conservative chica:
Related: 5 Reasons Why Being A Product Junkie Is Ruining Your Hair
A M I N I M A L I S T A P P R O A C H T O S T O R A G E & O R G A N I Z A T I O N
First, I decided on a location. A location that was convenient and useful. My nook quite small, measuring 2.5 ft x 5 ft but it fits everything that I need and the other side of this wall is our master bathroom.
Next, I had to purge my product stash of excess---several times. Which required me to be very honest about my hair care needs. Ironically, this is something that my mother used to force me to do when my space got out of control. She'd say: "If you don't have a place for it then you don't need it." Because I was working with a small space, I knew that I could only keep essentials. I divided my products into 3 categories:
Love
Donate
Re-purpose
For example, I rarely shampoo my hair. Therefore, I didn't need 5-6 bottles of shampoo. I kept my two favorites. The unused bottles, I donated to our homeless shelter. The opened (and potentially expired) shampoos, I use as bubble soap when the minions and I play outside. #zerowaste I hope to scale my products even further over the next few months.
Related: My Minimalist Natural Hair Regimen
The one item that I had to replace was my dryer. I've had this table top hard bonnet dryer for about 6 years. It still works well, but it's not convenient and its extremely loud. Because I mostly stretch my hair with curlformers, I needed a dryer that could get the job done efficiently and effectively. I gave my old dryer to my sister-in-law then invested in this standing rolling dryer. I also purchased the warranty, so if anything goes wrong---back to the store it goes!
How do you store your wash day products? What was your #washdayexperience like this week?
Besitos!
KLP
Tuesday, February 16, 2016
5 Reasons Why Being A Product Junkie Is Ruining Your Hair

It took me a year to purge my product stash. Sounds ridiculous doesn't it? I'm quite embarrassed that it took me all of 2015 to use up my favorite products and throw away all the stuff that either didn't suit my regimen or my lifestyle. In the process, I realized that somewhere in my hair journey, I started to believe that the more products I possessed and used, the faster that my hair would become healthier, longer, stronger...
Boy was I wrong.
Owning dozens of conditioners doesn't mean that your hair will be moisturized. Using dozens of conditioners at once doesn't mean that your hair will be moisturized either. I've come to see that having an overflowing product stash was ruining my hair. Here's why:
I N S T A N T G R A T I F I C A T I O N
Regardless of whether you're looking to repair or prevent damage to your hair; it's a process and nothing will work overnight. We tend to throw everything that we can think of (or that pops up in our Google self-diagnosis) at the issue. Most of the "cures" that we find aren't viable because they are not sustainable. Solve one issue at a time, using one product at a time. Seeking instantaneous gratification can ruin your hair.
O V E R K I L L
Too much of a good thing can be bad; very very bad. Using too much shampoo can strip your hair. Using too much conditioner can over-moisturize your hair. Using too many strengthening products can make your hair feel dry and brittle. Less is more and moderation is the key. Overkill can ruin your hair.
I N C O N S I S T E N T R E S U L T S
Our desire for variety and experimentation inevitably leads to inconsistent results. If our goal is to keep our hair balanced, then results that yield hair that's too dry, moisturized, or brittle on a constant basis stunts progress and ruins your hair.
W A S T E F U L
Shampoos aren't supposed to last for years and years. Either are conditioners. Especially items made with more natural ingredients and less preservatives. When you're constantly buying more than you use, something is bound not to be used. Although using an expired shampoo or conditioner probably won't cause too much harm---why risk ruining your hair?
D E C I S I O N F A T I G U E
When I had a ridiculous amount of products, I would literally stare at my stash forever trying to figure out what I wanted to use on wash day. If I use this pre-shampoo then I'll have to use this conditioner. But if I don't use this leave-in then I can't use this shampoo. Then when I used the wrong product combos, my hair suffered. In my minimalist stash---everyone gets along and I don't have to stress out or waste time trying to make simple choices.
Minimizing my product stash was long and tedious but totally worth it. I feel that my regimen is simpler---which encourages me to stick to it. My regimen is less stressful, more productive, less expensive and most of all---I that I can achieve consistent results with less "work."
I feel at peace.
What's your take? PJ for life or are you attempting the minimalist life?
Besitos!
KLP
Wednesday, February 10, 2016
[Tutorial] Flat Twist Bun for Natural Hair | The #WashDayExperience
My Fishtail Banana Clip updo from last week lasted for about 48 hours before it started to look raggedy. (Note to self: try not to sweat so dang much!)
My hair ended up in a high bun (like this one) until today's #washdayexperience.
Here's what I used:
Pre-shampoo- DIY Moisturizing Mist (tutorial here) + Herbal Essences Hello Hydration Conditioner (review here)
Clay Rinse- Here's the dets on my recipe
Deep Condition- Jessicurl Deep Treatment Conditioner (review here)
Leave-Ins- Extra Virgin Coconut Oil (Why EVCO is AMAZING here) + Jessicurl Too Shea Conditioner (why I love this stuff here) + DIY Hair Butter (tutorial here)
And here's how I did it:
I started my spritzing the ends of my hair with my DIY Moisturizing Mist (tutorial here). Then I slathered my hair in Herbal Essence Hello Hydration. If you want a co-washing/pre-shampoo/tangle melting conditioner/EVERYTHING in a bottle---then Hello Hydration is soooo for you! (You can read my full review here)
Related: How I got these curls to POP!
I hopped in the shower, rinsed the conditioner section by section then applied my Clay Rinse with a narrow tip applicator bottle. I'm start to like clay rinsing better than clay masks because its just too cold to be doing extra shower hopping. Next, I deep conditioned with my all time fave conditioner Jessicurl Deep Treatment Conditioner (review here), coated my ends in Extra Virgin Coconut oil (here's the kind that I use $) to seal in the conditioner and plopped under my hooded dryer for about an hour.
RELATED: Why I'm in love with the Coco (Coconut Oil of course!)
I t-shirt dried for about 10 minutes then installed my beloved Curlformers using a little more Extra Virgin Coconut Oil + Jessicurl Too Shea Conditioner (why I love this stuff here) + DIY Hair Butter (how to make your own Hair Butter here) as my leave ins.
I'm crazy excited to report that it only takes me 30 minutes to install my curlformers this time! #woot It still takes about an hour to dry and occasionally I have that one curl that just can't get right. Last year, I didn't use my hooded dryer at all---it literally had dust on it. But this year, I find myself using it every wash day. It pains me to say it but I might have to invest in a new one soon. I've had this table top hard bonnet dryer for about 6 years and it gets louder and louder each week. *le sigh* bye bye dollars. It was nice knowin ya...
Anywhos, I finger combed out my curls, made two flat twists then pinned them into a bun. This style is deceptively easy. Here's how I did it:
- Begin with stretched hair (I stretched my hair using Curlformers.)
- Make a heavy side part.
- Begin your flat twist at your bangs
- Work the twist around to the back of your head.
- Double strand twist the ends. (You might need a hair tie if your hair unravels.)
- Begin your second flat twist on the opposite side.
- Double strand twist the ends. (Again, you might need a hair tie if your hair unravels)
- Secure the left twist just above your right ear with a hair pin.
- Then secure the right twist by tucking it into the left side with a hair pin.
- Use as many hair pins as you need to secure and shape the "bun" portion of the look.
How did you style your hair this week? Anyone else struggling to keep their tresses moisturized? Share the dets with the rest of our healthy hair tribe below!
Tuesday, February 09, 2016
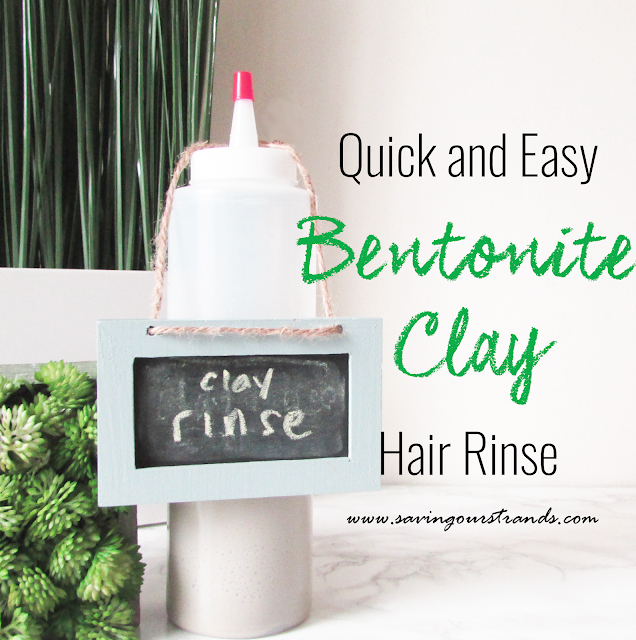
Quick and Easy Bentonite Clay Hair Rinse For Natural Hair
I won't lie, bentonite clay mask treatments are a labor of love. All that pouring and mixing plus the time it takes to apply and dry can be just too much work to do every wash day. So I started "clay rinsing." It's basically the same exact recipe as my Bentonite Clay Mask Treatment---but its consistency is thinner and can be done in one step in the shower. Which is perfect when you're pressed for time but still want your curls to pop! Here's what I used:
Related: DIY Bentonite Clay Mask Treatment
Ingredients:
2 oz Bentonite Clay (I use Aztec Healing Clay)
4 oz Aloe Vera Juice (I like this one)
1 oz Apple Cider Vinegar (Bragg is the best!)
2 tbsp Glycerin (These are good choices)
Plastic bottle with a lid (Applicator bottles like this one are awesome)
And here's how I mix it:
- I add the clay to my applicator bottle using a funnel. I like to use an applicator bottle with a cap so that it's easier to mix.
- Next add the apple cider vinegar. It will bubble and foam up---Don't be alarmed!
- Add your aloe vera juice and glycerin. Secure the lid of your applicator bottle and shake it gently! Your mix should be thin, but not runny. If it's too thick, add more liquid and shake. If it's too thin, add more clay and shake again
I like to clay rinse after a pre-shampoo treatment but before I deep condition (or co-wash if I'm
Are you clay/mud rinsing? What's your favorite recipe?
Besitos!
KLP
Wednesday, February 03, 2016
[Tutorial] Fishtail Banana Clip Updo on Natural Hair | The #WashDayExperience
My Green Tea Infused Hair Oil Rinse from last week made my hair feel...
Moisturized
Soft
Fluffy
...and really oily.
I'm guessing that I didn't rinse well enough. *le sigh* #thickhairproblems
Then add in 2 hours of soccer practice plus my usual daily workouts---my hair was begging to be washed this week.
Here's what I used:
Pre-shampoo- DIY Moisturizing Mist (tutorial here) + Aubrey GPB Conditioner (review here)
Shampoo- Jessicurl Cleansing Cream (review here)
Deep Condition- Jessicurl Deep Treatment Conditioner (review here)
Leave-Ins- Extra Virgin Coconut Oil (Why EVCO is AMAZING here) + Jessicurl Too Shea Conditioner (why I love this stuff here) + DIY Hair Butter (tutorial here)
And here's how I did it:
I started my spritzing the ends of my hair with my DIY Moisturizing Mist (tutorial here). Then I slathered my hair in Aubrey GPB conditioner. I adore the way that this conditioner helps me detangle, leaves my curls perfectly defined and strong. (You can read my full review here)
I hopped in the shower, shampooed with Jessicurl Cleansing Cream (review here) and rinsed. Next, I deep conditioned with my all time fave conditioner Jessicurl Deep Treatment Conditioner (review here), coated my ends in Extra Virgin Coconut oil (here's the kind that I use $) to seal in the conditioner and plopped under my hooded dryer for about an hour.
RELATED: Why I'm in love with the Coco (Coconut Oil of course!)
Related: How To Get DOUBLE the curl with Curlformers!
I t-shirt dried for about 10 minutes then installed my beloved Curlformers using a little more Extra Virgin Coconut Oil + Jessicurl Too Shea Conditioner (why I love this stuff here) + DIY Hair Butter (how to make your own Hair Butter here) as my leave ins.
Sometimes I wished that I lived a more lavish lifestyle. One where wearing my hair in big bouncy beautiful curls like these was required. But...I don't. Ha-ha! I'm a regular soccer mom with a ridiculously long messy to-do list where even high buns seem too formal.
So I whipped my hair into this crazy quick and super simple Fishtail Banana Clip updo. Here's how I did it:
- Begin with stretched hair (I stretched my hair using Curlformers.)
- Section off your bangs by making two parts at the crown of your head.
- Secure with a hair clip.
- Secure the rest of your hair with a hair clip.
- Braid your bangs using the fishtail technique. (Here's a tutorial on how to Fishtail Braid Natural Hair)
- When the braid reaches the back of your crown, simply double strand twist to the ends and secure with a hair pin.
- Now release the back of your hair and pull it into a pony tail.
- Use your banana clip to secure the hair.
- Divide the hair in the banana clip into two sections. Clip one section away.
- Now double strand twist this section
- Roll and tuck the twist then use a hair pin to secure it.
- Repeat on the last section.
How did you style your hair this week? Anyone else sporting updos? Share the dets with the rest of our healthy hair tribe below!
Subscribe to:
Posts (Atom)

